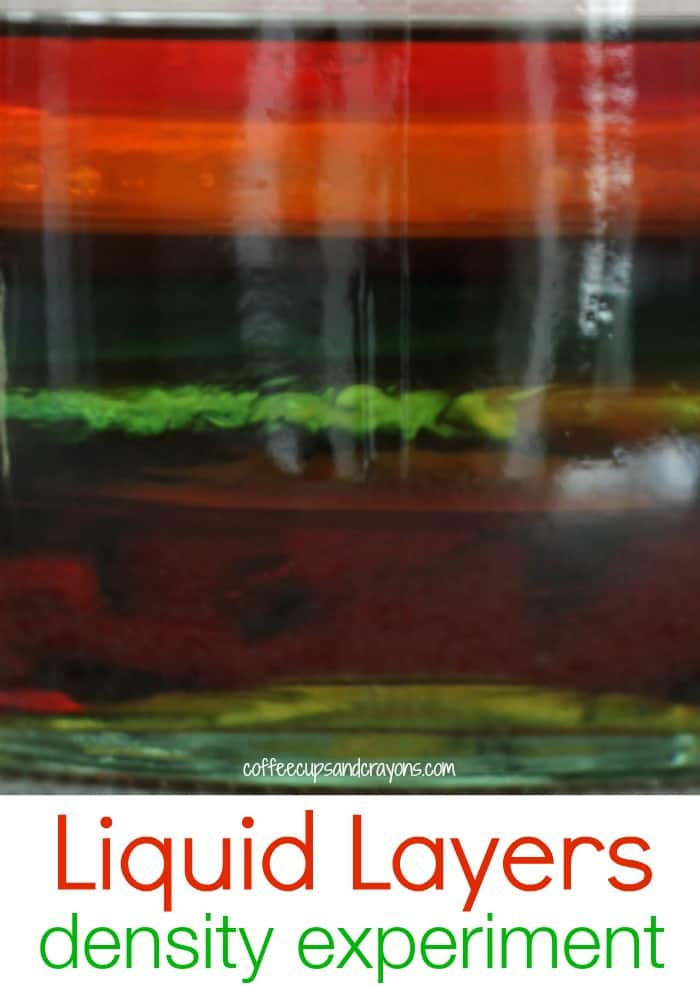
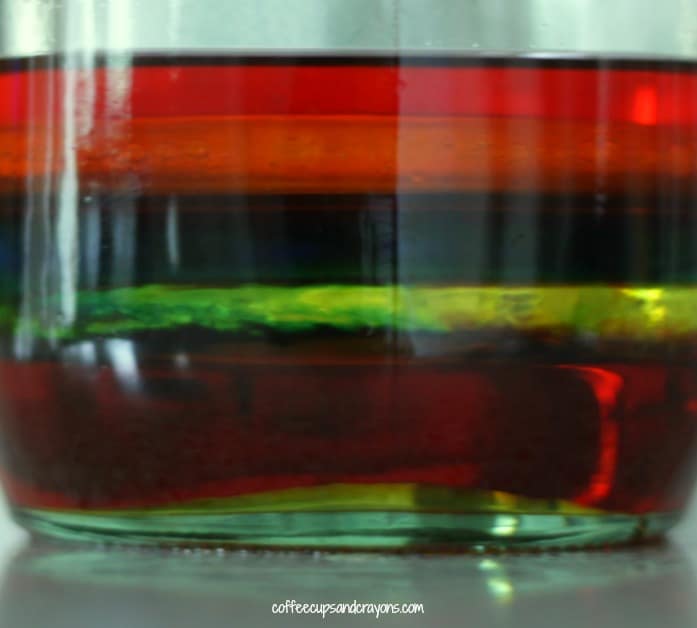
Density can be a tricky science topic for kids to understand. Making the concept hands-on with a density science experiment like liquid layers is a great way for kids to “see” density in action.
I’ve seen other people do this experiment before, but this was the first time I had ever done it myself. Our first experiment didn’t turn out as well as I thought it would so follow the pouring directions below if you don’t have a lot of extra liquids when you try it!

Liquid Layers Density Experiment
- 100% pure maple syrup or corn syrup (or both)
- dish soap
- water
- oil (we tried both olive and vegetable oil)
- rubbing alcohol
- food coloring (if you want to color the soap, water and alcohol)
- turkey baster, pipette, or medicine dropper
- clear jar

You pour the layers in one at a time starting with the maple syrup. The first time we tried this we slowly poured them all into the center of our container and some of the layers mixed together–especially the soap and water!
This time we poured the syrup and soap in and then poured the water down the side of the jar. We did the same with the oil and rubbing alcohol and ended up with some pretty colored liquid layers! Woo hoo!
How Does It Work?
The liquids all have different densities so they don’t mix together when layered from densest to lightest.
Join me and Erica from What Do We Do All Day? each Thursday this summer for a free Summer Science Camp. We are sharing classic science experiments that your kids will love!
Head over to see the Homemade Compass they made this week!
Don’t let the fun and discovery stop there!
We have TONS of science experiments your kids will love on our Super Cool Science Experiments for Kids page!
Take me to the experiments –> Super Cool Science Experiments for Kids


Great job – that can be a hard one! We’ve had success in the past by adding the layers, with a straw as a pipette, under each other, working from least to most dense last.