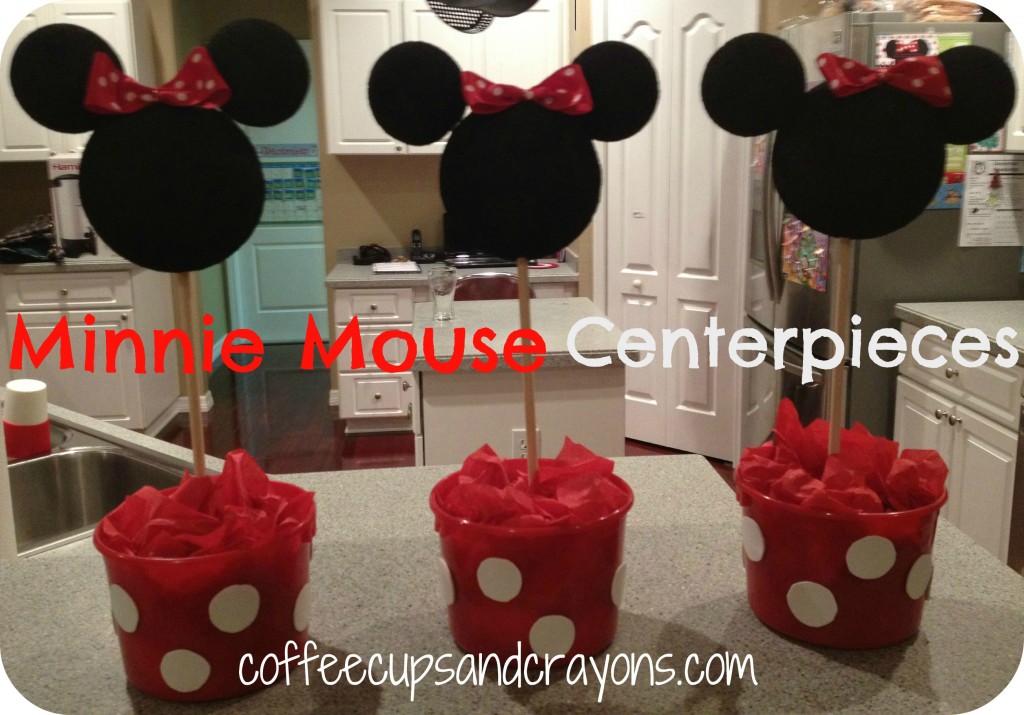
Welcome to birthday party week at Coffee Cups and Crayons! I’ll be featuring fun party ideas all week and am kicking off the Minnie and Mickey party series with an easy Minnie Mouse centerpiece idea I made for my youngest’s Minnie and Mickey birthday party.

Minnie Centerpiece Supplies:
-
2 small styrofoam balls
-
1 medium styrofoam ball
-
black acrylic paint
-
wooden dowel
-
wooden skewer
-
floral block (check the dollar stores)
-
Red bow
-
white foam
-
small red bucket
-
red tissue paper
 (Sorry for the poor quality photo! I forgot to get a good one the day of the party. Hopefully you can see how cute they would be!)
Here’s how to make them:
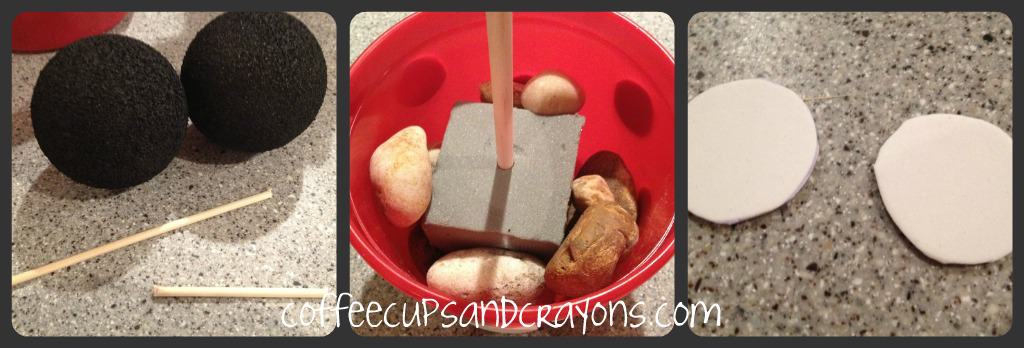
1. Paint all the styrofoam balls black and allow to dry.
2. Cut floral foam to fit in the bottom of the bucket and place inside. Use rocks to secure if necessary.
3. Attach Minnie’s head and ears using pieces of a wooden skewer. Place on the wooden dowel and insert into the floral block.
4. Use a pin to attach the bow to the top of her head and place the white foam dots on the outside of the bucket.
5. Add tissue paper to cover the floral foam and you’re done!
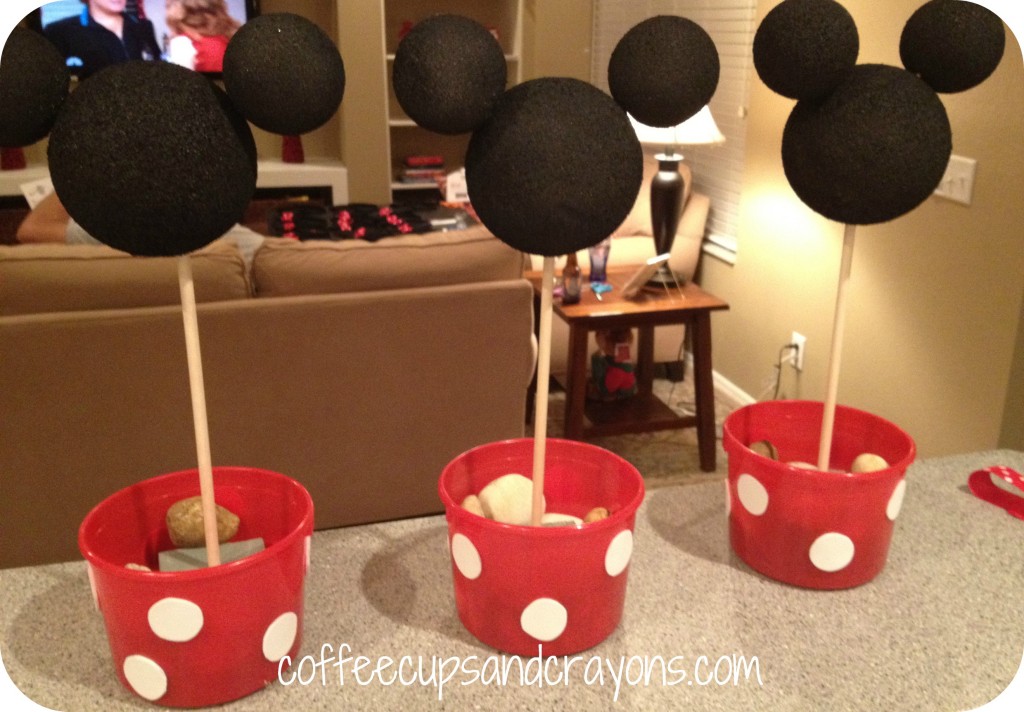
 And here’s what the Mickey version would look like!
Stay tuned for more Minnie and Mickey party fun! I’ll be posting ideas for Mickey and Minnie ears, games, food, the dessert table and more.
If you liked the centerpieces be sure to check out:
These are PERFECT!!!!! They look like the 20 dollar pair Disney soaked us for last year in California!!!!! Probably made better, too!
They definitely stay on better! We wore ours to Disney a couple days after the party and Minnie herself loved them! The kids definitely thought I was super cool. 🙂
what size styrofoam balls did you use? i think i purchased a bunch of 4″ balls for the ears…but dont’ know what size to use for the head?
thanks
ashley
Hey Ashley! Thanks for stopping by! I used the 4ish inch ones for the head and the 2.5ish inch ones for the ears. I found all of my supplies at Michael’s if you have one. I think anything would work as long as the proportions were similiar. Let me know if you have any more questions. 🙂
What type of spray paint did you use? I sprayed it and the foam melted.
Oh no! We used regular black latex spray paint, but I could see how that would happen with styrofoam. You have to do more than one coat and kind of lightly move it back and forth as you go. Don’t stop in one area too long or get too close. That’s probably what happened. I do a light coat and then let it sit for a little bit. You don’t have to wait for it to dry completely — just set. Good luck! Let me know if you have any other problems. 🙂
Those are so cute, those are awesome party decorations! If I added glitter to these how much do you think I should use?
Great idea! Use spray glitter and you should be able to do as little or much as you want! I can’t wait to see how they look!
I love them!!! they r cute, i just dont kn where to find the red buckets?
Thanks so much Vivian! Do you have a Dollar or $.99 store near you? Check there!
I love the centerpiece idea but my daughter is turning 1 so is there anyway I can make a number 1 to stick on there some where?
What if you made a cardstock #1 and glued it to a lollipop stick? You could stick in the floral foam!
The foam sucks up all the spray paint 🙁
It is hard to do if you’ve never spray painted styrofoam before. Just use a paint brush and paint then and it will work!
Hi, My son’s birthday is coming up and he is obsessed with Mickey Mouse. I would love to make these. Do you think I can use Durafoam or Smooth Foam balls instead of Styrofoam?
Thanks
Melina
Absolutely! In fact that would probably work out to be much easier!
Megan how do you make the bows?
Hi Vivian! I just loop the ribbon into a circle and then tie a tinier ribbon across the middle to gather it and cut off the ends. If you click on the Minnie ears post you can see a little larger version of the bow. It might make the instructions make more sense!
What size of wooden dowel/skewer did you use?
Ours was a 1/4 inch dowel from JoAnn Fabrics. 🙂
Hi there,
I will be making the table centrepieces for my daughters baptism and I have a few questions if you would be so helpful please…
What size of balls did you use?
How long is the wooden dowel?
Many thanks,
Amy.
HI, these are great! I am planning to make them for my daughter’s minnie mouse themed birthday party. Just a few questions.. did you remove the handle of the buckets? And, what size foam did you buy for the buckets. Did you buy or make them. If bought then from where.. thanks!
I bought it at the dollar store and cut it to fit in the bucket! I did remove the handle and got the red plastic buckets at our party store. Have a fun party!
These showed up in my Pinterest feed. They are so adorable. Makes me want to talk my daughter into having a Minnie party for my granddaughter’s 2nd birthday. Thanks for sharing.
Thank you! Minnie parties are always so cute to do. The polka dots make everything fun!