This past Friday my oldest turned 6 years old! Six! I can hardly believe she is already that old. After a lot of thought she decided she wanted a cowgirl party (it was the idea of the pink boots that helped make the final decision) and we had ourselves a hoedown last Saturday! I’ll post more party ideas in the next few days, but I though I’d start with the cool rope letter we made for the dessert table backdrop.
photo by the Best part photography
Most of the party was planned and organized at the very last minute, but I came up with this idea right after we picked the theme last month and enlisted my husband’s help to create an H made out of rope. Luckily, for him it turned out to be very easy!
Here’s what we did:
The most difficult part was determining how we were going to get the rope to keep its shape. We decided that some sort of wire would probably be the easiest to work with and found a heavy duty floral wire at Michael’s that worked perfectly!
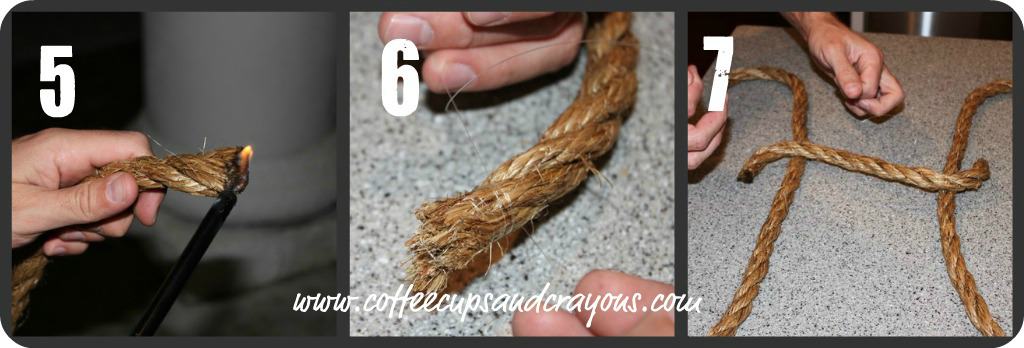
1. Once we had our supplies we cut the rope to the lengths we wanted with tin snips. A razor would have worked too (that’s actually what the guy at Home Depot used to cut it at the store), but this was much faster!
2. Next we cut equal lengths of floral wire.
3. Then we threaded the wire through the rope.
4. We just twisted and loosened the rope to get the wire through when it would get stuck. Super easy!
We hung it above the dessert table by tacking it to the wall with straight pins. Super simple! And a huge hit with our little cowgirl when it was time to blow out the candles.
What types of things do you do to personalize your birthday party decor? Post a link in the comments below, I’d love some new ideas for my Party Ideas Board on Pinterest!
Linking up to:


That is such a great idea!!!! And the dessert table is adorable!!!!
Thanks so much! It really is super easy. And now the birthday girl has the letter hanging in her room. 🙂
Enlightning post! Keep up the awesome work!
Meg,
After viewing your cowgirl birthday party a certain little girl I know is obsessed with the idea! It was such a cute idea, so excited to put our own together!
Such a fun and easy party!!! I can’t wait to see what you come up with! I was just thinking I was going to ask you to send me photos of the garden party cake to feature on here. Still one of my all time fav cakes!!!
Hello, I enjoy reading through your article post.
I like to write a little comment to support you.
Thank you for sharing this wonderful idea.
I just saw a rope name that I loved for my soon to arrive grandson’s cowboy themed nursery, but it was so expensive. Now I’m sure I can DIY the same thing for a fraction of the cost. Thanks for the great tutorial!
Oh definitely!!! Glad it was helpful!
I know this article is a little old.. but where did u buy the rope? I’ve been trying to find some thick enough. Thanks!
Hi Jackie! We got our rope at Home Depot. They have a section where there are all types on big spools that they cut to size for you! 🙂