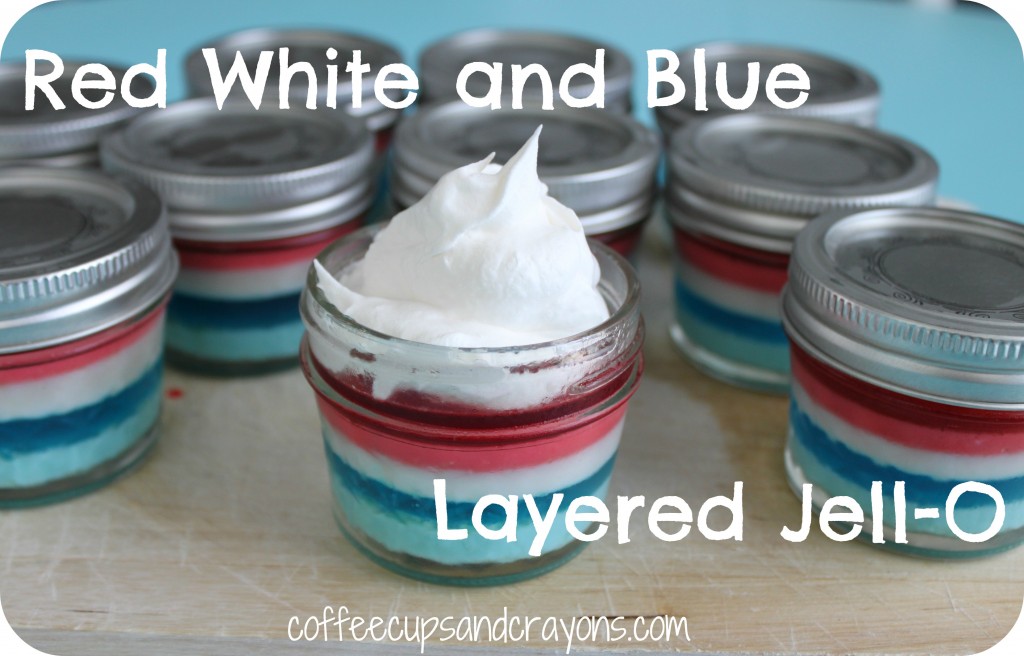
We love making layered Jell-O in the summer and have been making red, white and blue Jell-O for the last couple 4th of Julys. This year we decided to shake things up a little bit and make individual servings in 4 oz jelly jars. I included both recipes below if you’d like to try it yourself. Layered Jell-O is as easy to make as boiling water, but does need time to set between the layers so if you are planning on serving this dessert you should begin making well in advance of eating it.
Layered Jell-O Recipe Ingredients
- 2 small boxes of red gelatin
- 2 small boxes of blue gelatin
- 1 1/3 cups of sour cream
- Boiling water and cold water
- Whipped cream
- Colored sprinkles
How to Make Traditional Red, White and Blue Layered Jell-O:
- Dissolve one of the packages of blue gelatin in 1 cup of boiling water.
- Mix ½ cup of the dissolved gelatin with 1/3 cup of sour cream.
- Pour into an 8’’ by 8’’ glass pan sprayed with cooking spray. Place the pan into the refrigerator for 30 minutes to set.
- After the blue gelatin is firm to the touch, mix the rest of the dissolved gelatin with 3 T of cold water.
- Very slowly pour the dissolved gelatin on top of the first layer. Place back into the refrigerator until the top is firm.
- Repeat the process with the remaining boxes of gelatin alternating red and blue layers.
- When the final layer has set, top the layered Jell-O with whipped cream and decorate with red and blue sprinkles.
Layered Jell-O in Jelly Jar Recipe Modifications:
I followed the first 4 steps pouring the jello into 12 jelly jars instead of the pan. Then for the white layer I dissolved 1 packet of Knox gelatin in 1 cup of water and added 1/3 cup of sour cream and 3 T of simple syrup to it instead of following the directions in steps 1 and 2. I then used the above directions for the red layer. I only used 1 box of blue and 1 box red Jell-O. I did have to add a little extra water (about 1 T) to the final red layer for some reason. I’m guessing I didn’t measure accurately at first because I was fine with the blue layer.
Happy 4th of July!

This would be super fun for Memorial Day, too! 🙂
Ooooh! Good idea Carolyn!
Just wondering what is considered simple syrup? Corn syrup?
It’s a sugar and water syrup. Here’s a link to a recipe or you can usually buy it it pre-made in the drink aisle. http://www.foodnetwork.com/recipes/simple-sugar-syrup-recipe.html