Making and playing with DIY tin can stilts is so much fun–my kids have played with them for hours! There is nothing quite like the feeling of crafting your own toy.
We were inspired by slow, old fashioned summers to create homemade tin can stilts–how cool would it be to take these to a town parade?


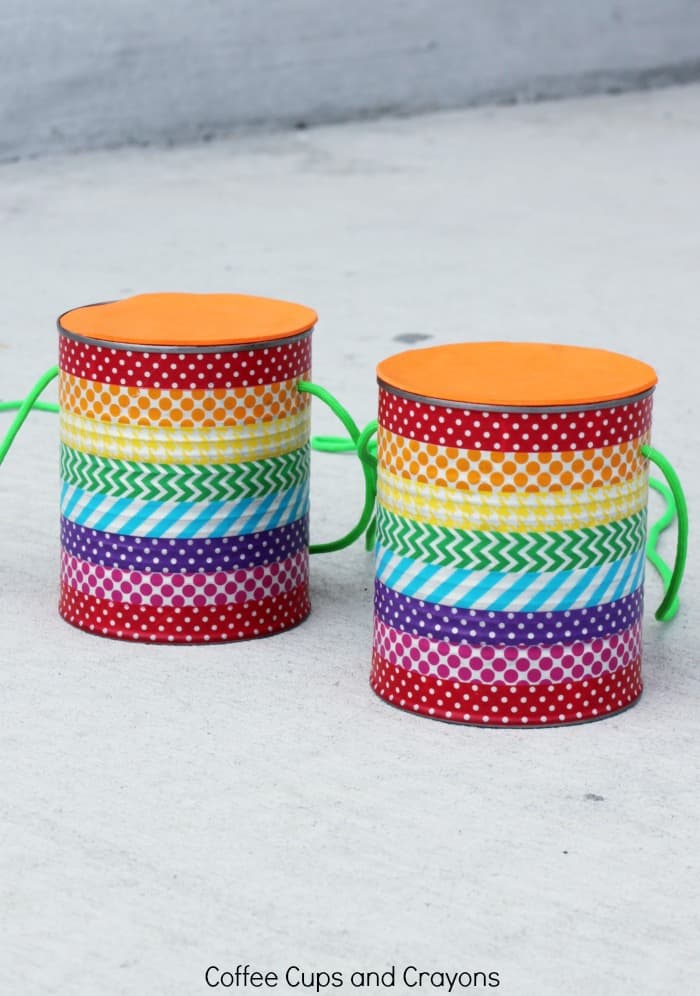
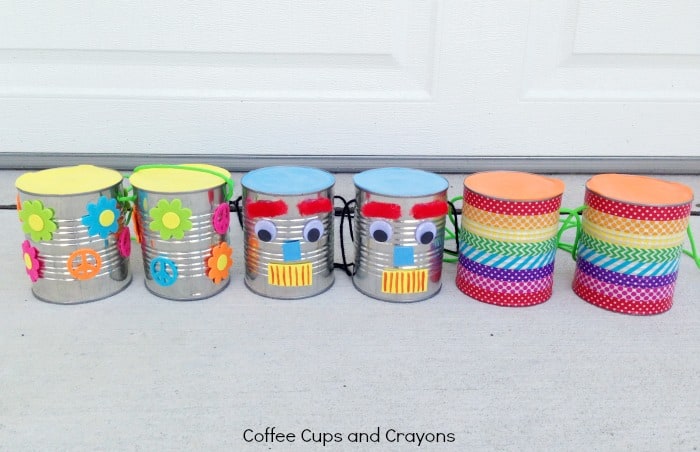
DIY Tin Can Stilts
Younger kids will need help from an older child or adult to make these tin can stilts. This is a great craft to introduce how to use simple tools while creating a toy to play with!
Here’s what you’ll need:
- empty tin cans (we used 29 ounce tomato cans)
- hammer and a nail to make the holes
- paracord (yarn would also work)
- hot glue gun
- foam
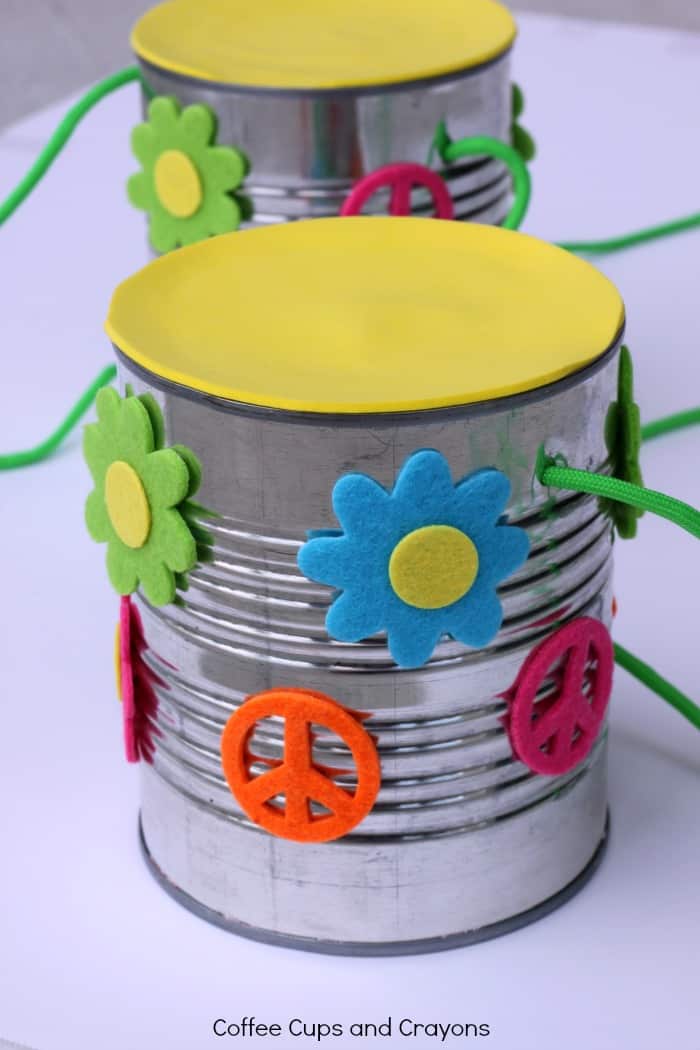
- assorted crafty decorations (we used washi tape, foam stickers, googly eyes, markers, and pipe cleaners)
How to Make Your Own Tin Can Stilts
Prep the tin cans by cleaning and drying them thoroughly. We used a smooth edge can opener to open the cans we were going to use so it would be safe for the kids to play with. If you don’t have one you may want to cover the edges in duct tape before the kids start crafting.
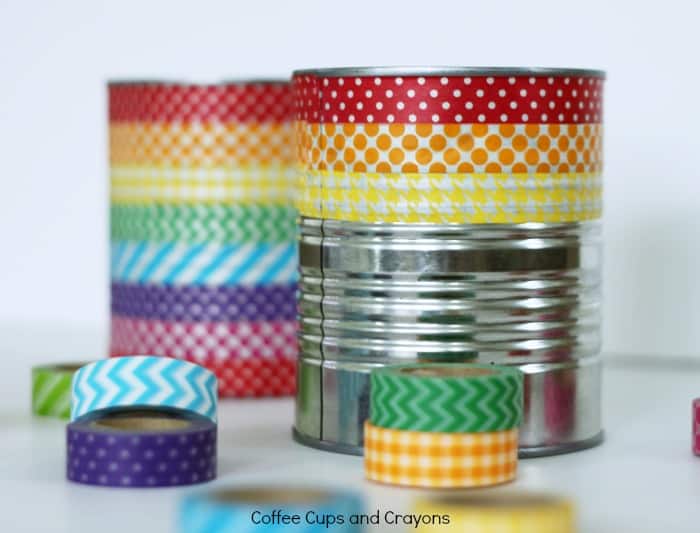
Use the hammer and nail to poke a hole through the side of each can near the top. This job is better for an adult or older child. Once the holes are in it’s time to decorate! Kids can covered the cans in washi tape or stickers or create a face–there is no wrong way to decorate tin can stilts!

To make the cans more comfortable to walk on we added a layer of foam to the top. Just trace the top of the can on the foam and cut out. Then have an adult hot glue the circles to the top. Finally add the paracord for the handles. We cut all of ours to be 48 inches each and tied them inside the can. Hold it up to your child and adjust up or down as needed.
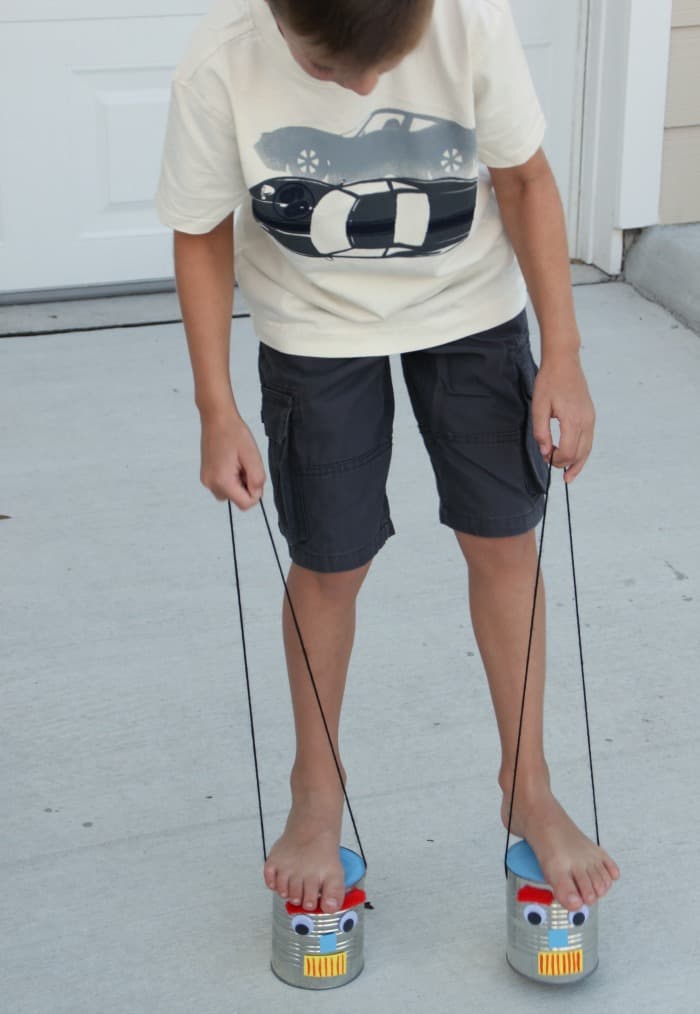
Then it’s time to learn how to walk on the stilts!
I say learn because it can be tricky at first. We found it hard to walk in the grass so if possible you may want to practice on carpet at first. We were excited to give it a go so after a little practice we went straight for the sidewalk and driveway. Use your judgement for what will work best for your kids.

Leave a Reply